

Get Inspired
We headed off to Candy Cane Christmas Shop outside of Archbold, Ohio. The shop, inside a defunct elementary school building, is chock full of decorated trees, ornaments and gifts. Sarah and MJ both found a delight or two to take home with them.
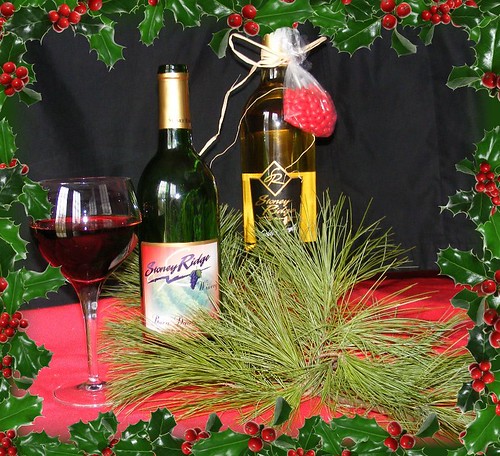
Over the river, through the covered bridge, and across the countryside we went until we reached Stoney Ridge Winery. After so much inspiration and to gird our loins for the meat of the boot camp we needed to stop for libations. After sampling four wines for one dollar, Sarah and Manda settled on a Riesling and MJ and I the Barn Dance Red. We sipped, gabbed, and soaked up the ambiance of the winery. Too soon it was time to get down to serious wreath-making business.
Back home, the first order of business…munchies! Meatballs simmered in barbeque sauce, toasty mushroom sandwiches, crackers, chips and dip kept our spirits from flagging. With bellies satiated, we dived into mountains of greens, spools of wire, and a constant chatter all while toasting wreaths, the holidays, and great friends.
Pour yourself a glass of wine, wreath making boot camp begins now…
Supplies

- You’ll need a supply of fresh greens. I like to use boxwood, white pine, and arborvitae, but any evergreen or pine can be used individually or with a mix.
- Box wreath frames come in an array of sizes. We used 12 and 18-inch wreath frames. You can find box wreath frames at craft stores like Michaels or Jo-Ann Fabrics.
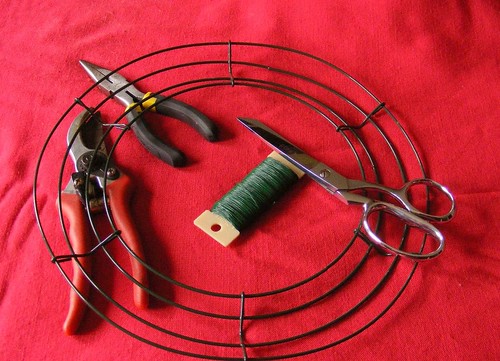
- Green paddle wire, gauge 28, is what we used. I like a lighter weight simply because it’s easier to use.
- Clippers, or nippers as I call them, make a clean cut on woody stems.
- Wire cutters for…cutting wire.
- Scissors that cut fabric for snipping ribbon. I have a tendency to snip all sorts of things with a pair of scissors, so I keep one pair of Fiskars just for cutting fabric.
- Don’t forget ribbon; it adds color and a flounce to wreaths.
- Items to decorate your wreath: Pinecones, sweet gum balls, pods, rose hips, berried branches, dried flowers, fresh flowers in water picks, cranberries and other fresh fruits like apples, pears, whole nuts in the shell, and dried pomegranates add natural touches. Want a little shine and glitz, tuck Christmas ornaments, balls, and garlands into wreaths.
Start with the wreath form facing up like a trough just waiting for greens. Line the curved part of the form with a bed of greens. We used boxwood because we had a large supply. Make sure the stems of the previous bunch are covered by the next bunch.

Once the bottom is lined with greens, wind the paddle wire around the greens leaving a tail at the beginning. When you get back to the beginning, twist the tail lightly with the wire you have in hand, but do not cut.

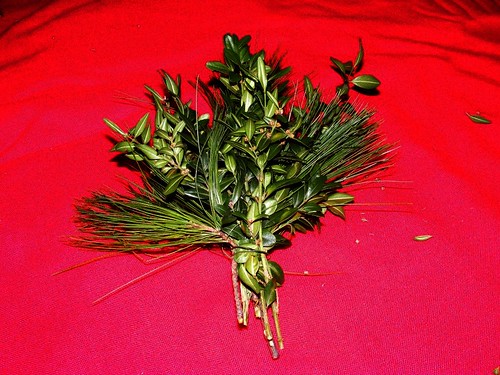
Mixed greens fashioned into fans or bunches create the next layer. Make certain the fan of greens covers the outside and the inside of the wreath frame. Think how a fan looks and spread the greens out, keeping them thick enough to cover the base. The thicker and wider the fan, the more lush the wreath. Lay the fan on the base, wiring the bunch to the wreath form base. Out of habit, I wind three times, letting the spool of wire lay outside the wreath frame. Fashion another fan from the greens and lay this one over the stems of the previous fan. Placing bunches closer to the top of the previous bunch creates a fuller wreath. Continue creating fans and wiring them to the frame until the circle is complete.
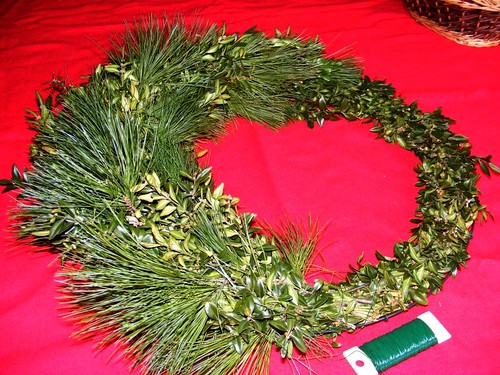
Hold the wreath up so you can get a good look at it. Add stems of greens to fill in any sparse areas. You can also add dimension by hot gluing small pieces of greens and poking them upright into the bed of greens. Make sure the stems are not too long otherwise the wreath will take on a shaggy appearance.
Decorate the wreath by attaching ornaments with hot glue or inserting wire ends into the base. Items like pinecones and apples can be wired on to the wreath. Wrap a long piece of wire around the pinecone and twist it tight leaving tails. Insert the tails into the wreath base and twist from the back. Cut off excess wire. Use the same wiring procedure for small red apples.
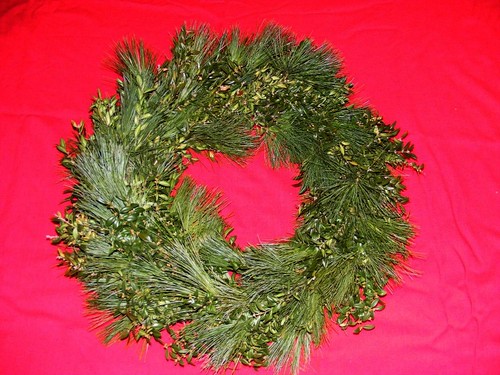
That’s it…wreath-making boot camp is now over. Sit back and raise your glass in a toast…Here’s to being surrounded by the natural beauty of handmade boxwood and pine wreaths!
The finished wreath is just lovely. The how-to is clear and helpful. I need to get out and make one :D
ReplyDeleteThe pictures look really great!
ReplyDeleteit looks beautiful! great little boot camp and I didn't even have to take a cold shower!
ReplyDeleteI am going to gather pine and give it a try. Your "how to" is great. I wish I could have been there.
ReplyDeleteYay! Wonderfully fun post...the wreathes look fabulous!! Great post..very beautiful creations.
ReplyDeleteOmg! You guys are the best! My husband was looking for something to do with his Boy Scout troop last night so googled wreaths or something. Anyway, your blog came up. You have to go check out his first wreath - thanks to your blog. The funny thing is our blog names are very similar :)
ReplyDeleteThanks to each of you for your comments about the fun night of wreath making. I hope everyone is having a wonderful holiday season.
ReplyDeleteTo the Crockets...
ReplyDeleteThanks for checking out my blog and using the directions to create wreaths for your door and with your scouts. I've checked out your blog, too, and I'll be back for more.
Great tutorial! I make mine the same way, but I love your idea of doing it in 'boot camp'! :)
ReplyDelete